Continuous Integration with GitLab and Synology NAS
Set up GitLab runners on NAS to automatically run unit tests after a push.

My Synology NAS comes with Docker, and I have been using GitLab Docker image that was available in Package Center. I have always wanted to make GitLab automatically kick off builds after each commit and run unit tests.
After a lot of searches and reading, I found a very nice page that outlines how to make CI work via a series of commands here.
You can also make this work completely from within DSM. And some of the information took some time to find since I am a complete dummy. So here are my notes.
Image to Download
This is done from Docker application accessible from main menu. Navigate to "Registry" section on the left, you want to download image "gitlab-runner". To do that, type "gitlab-runner" in the top-center search field and highlight the top-most entry, then press "Download" button.
A dialog box will appear asking you to choose a tag; I selected "latest".
Launch Settings
After image finishes downloading, you can launch a container using the image. When you click on the "Launch" button, a dialog appears allowing you to configure the environment and run command.
Under the volume tab, I mounted a scratch folder visible to my container; made sure that this directory is writable by everyone. You don't need this, but I configured my container this way to debug the pipeline and the artifacts it produces.
Register Runner
Selecting the GitLab runner by highlighting from the "Container" section on the left, highlight "gitlab-gitlab-runner" and press "Details" button. In the window that pops up there is a right-most tab named "Terminal". Launch a shell by clicking on the down arrow on the "Create" button, then select "Launch with command": /bin/bash.
At the prompt, execute command gitlab-runner register, and you can follow the instructions from this page. A few notes:
- gitlab-ci token can be found from your GitLab project web page in "Settings" then "CI/CD". Expand the section that says "Runners", then look under "Set up a specific Runner manually" and token is just below heading "Use the following registration token during setup".
- I entered blank for gitlab-ci tags.
- For executor I entered
shell.
The instructions also asked you to edit /etc/gitlab-runner/config.toml. You can install any editor you want after running apt update. I found that I didn't have to edit that file and everything worked fine, but in the end I did edit the configuration to specify builds_dir to point to the scratch folder I created earlier.
Setup Build Environment
Again from the Terminal tab via "Details" button, first run apt update, then apt install whichever package you need to build. My gitlab runner image is based on Ubuntu 20.04.
I suppose you can make apt install part of the build script. It seems like a waste of time and bandwidth to me but I am sure there is a good reason for it. I didn't like the build environment changing from under me, so I directly modified the container.
Set Up CI/CD
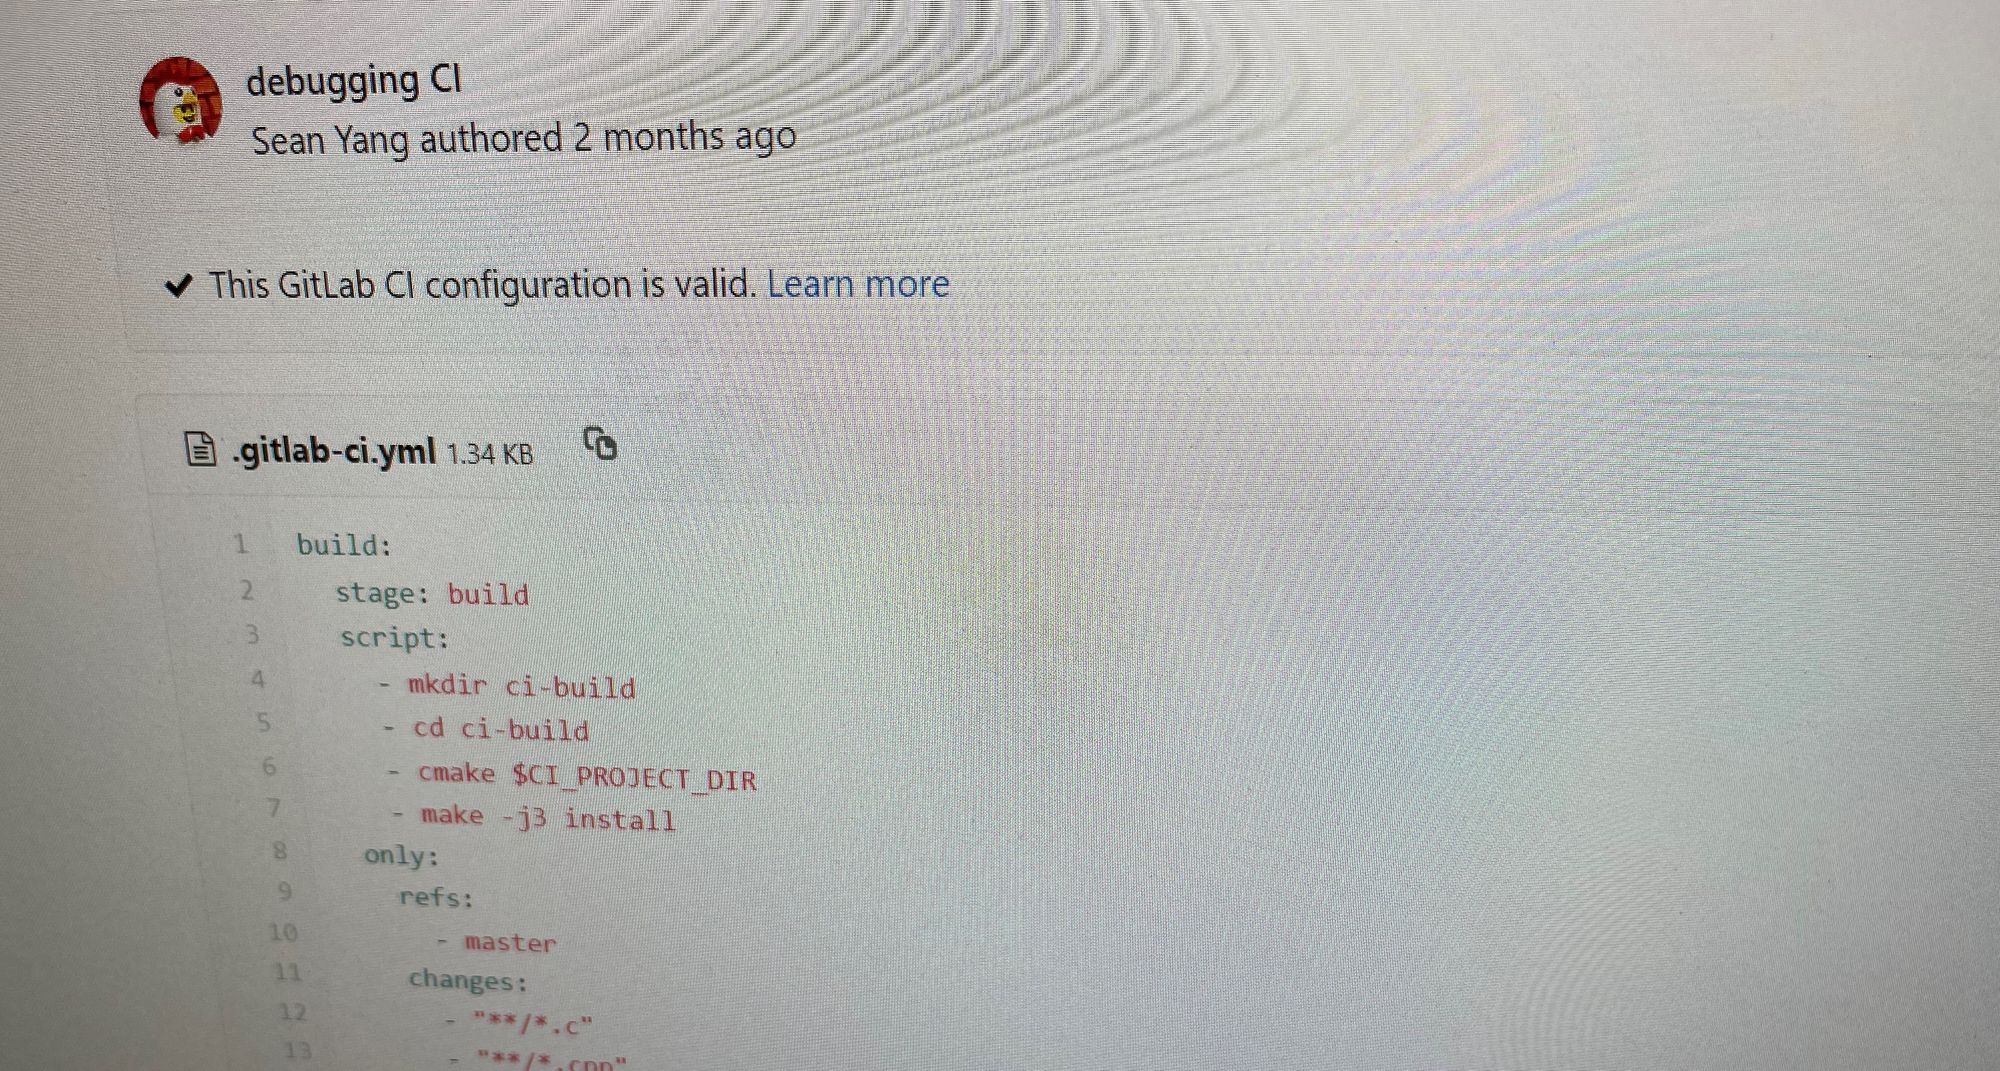
This is done by creating file gitlab-ci.yml at root of your repo. My configuration is simple largely because I used cmake to do all the work and all my unit tests are in one binary; after first applying the built-in C++ template, I then only had to make small edits to specify which artifacts I need to run unit tests:
build:
  stage: build
  script:
    - mkdir ci-build
    - cd ci-build
    - cmake $CI_PROJECT_DIR
    - make -j3 install
  artifacts:
    paths:
      - $CI_PROJECT_DIR/ci-build/linux/release/root/wm-egg
      - $CI_PROJECT_DIR/ci-build/linux/release/root/libwm-engine.so
      - $CI_PROJECT_DIR/ci-build/linux/release/root/libwm-engine.so.0
      - $CI_PROJECT_DIR/ci-build/linux/release/root/libwm-engine.s0.0.0.1
      - $CI_PROJECT_DIR/ci-build/linux/release/utils/unit-test

test:
  stage: test
  script:
    - LD_LIBRARY_PATH=$CI_PROJECT_DIR/ci-build/linux/release/root/:$LD_LIBRARY_PATH $CI_PROJECT_DIR/ci-build/linux/release/utils/unit-test
There is a list of predefined environment variables, see documentation. $CI_PROJECT_DIR point to root of my repo. Although I am using cmake, I cannot have artifacts outside of $CI_PROJECT_DIR it seems. Sigh.
Parting Thoughts
So, it only took two dozens of iterations to make this work but this is not fun at all. Wacky Mango actually compiles and targets multiple platforms and while I know I can set up runners for Windows and Mac OSX, I just cannot motivate myself to do so. The unit test is part of the build, and results so far are consistent across platforms, so I guess running on just Linux is fine for now.
I also have no idea how to cache the intermediate objects, so server is doing full build every time. Finally, cranking up number of jobs for parallel make seems to be seriously hurting the NAS. In the end I think this'll get the job done and I can cross out one another item that I am curious and want to learn about, but definitely not ideal.
Follow Up
I installed ccache in my runner and added the following code fragment to one of the first CMakeLists.txt recipes that runs during build:
find_program(CCACHE_PROGRAM ccache)
if (CCACHE_PROGRAM)
	set_property(GLOBAL PROPERTY RULE_LAUNCH_COMPILE "${CCACHE_PROGRAM}")
endif()
Build time is greatly improved for so little effort.
And One More Thing...
Thank you for reading this far. 2 months after publishing this note, I improved my CI pipeline some more to conditionally trigger build and test. You may find it useful.
References
- Nice instructions written by Mathias Lipowski
- Environment variable reference for GitLab
- StackOverflow solution to use ccache in CMake