Ethernet Cables and IP Cameras
Sharing my experience making the cables for home surveillance.

One of the many things you can do with Synology NAS include building a home surveillance system. Synology's Surveillance Station add-on is great, allowing you to configure/control your cameras and view the recordings using the familiar DSM web interface. Additionally, you can download mobile app DS Cam for your phone, when coupled with DDNS will allow you to remotely access your cameras and recordings.
Camera License
When you buy the NAS it comes with licenses for two IP cameras. You can select from many vendors, and a list of compatible cameras is here. Use it to help you narrow down by features (resolution, PTZ, etc.), but note that most of them seem difficult to get, at least in the U.S.
Two cameras may be sufficient, but to add more cameras to your NAS you need additional licenses costing more than $50 each. License purchase is one-time, and the additional licenses you bought can be re-assigned to another Synology NAS. You should probably try with two cameras first and see how well your network holds up, before deciding to add more cameras.
This has more to do with how much data your NAS can upload when viewing recordings remotely (upload bandwidth limited by ISP), as well as how recorded videos make their way to the NAS (4 cameras is about 1.5MB/s in my environment).
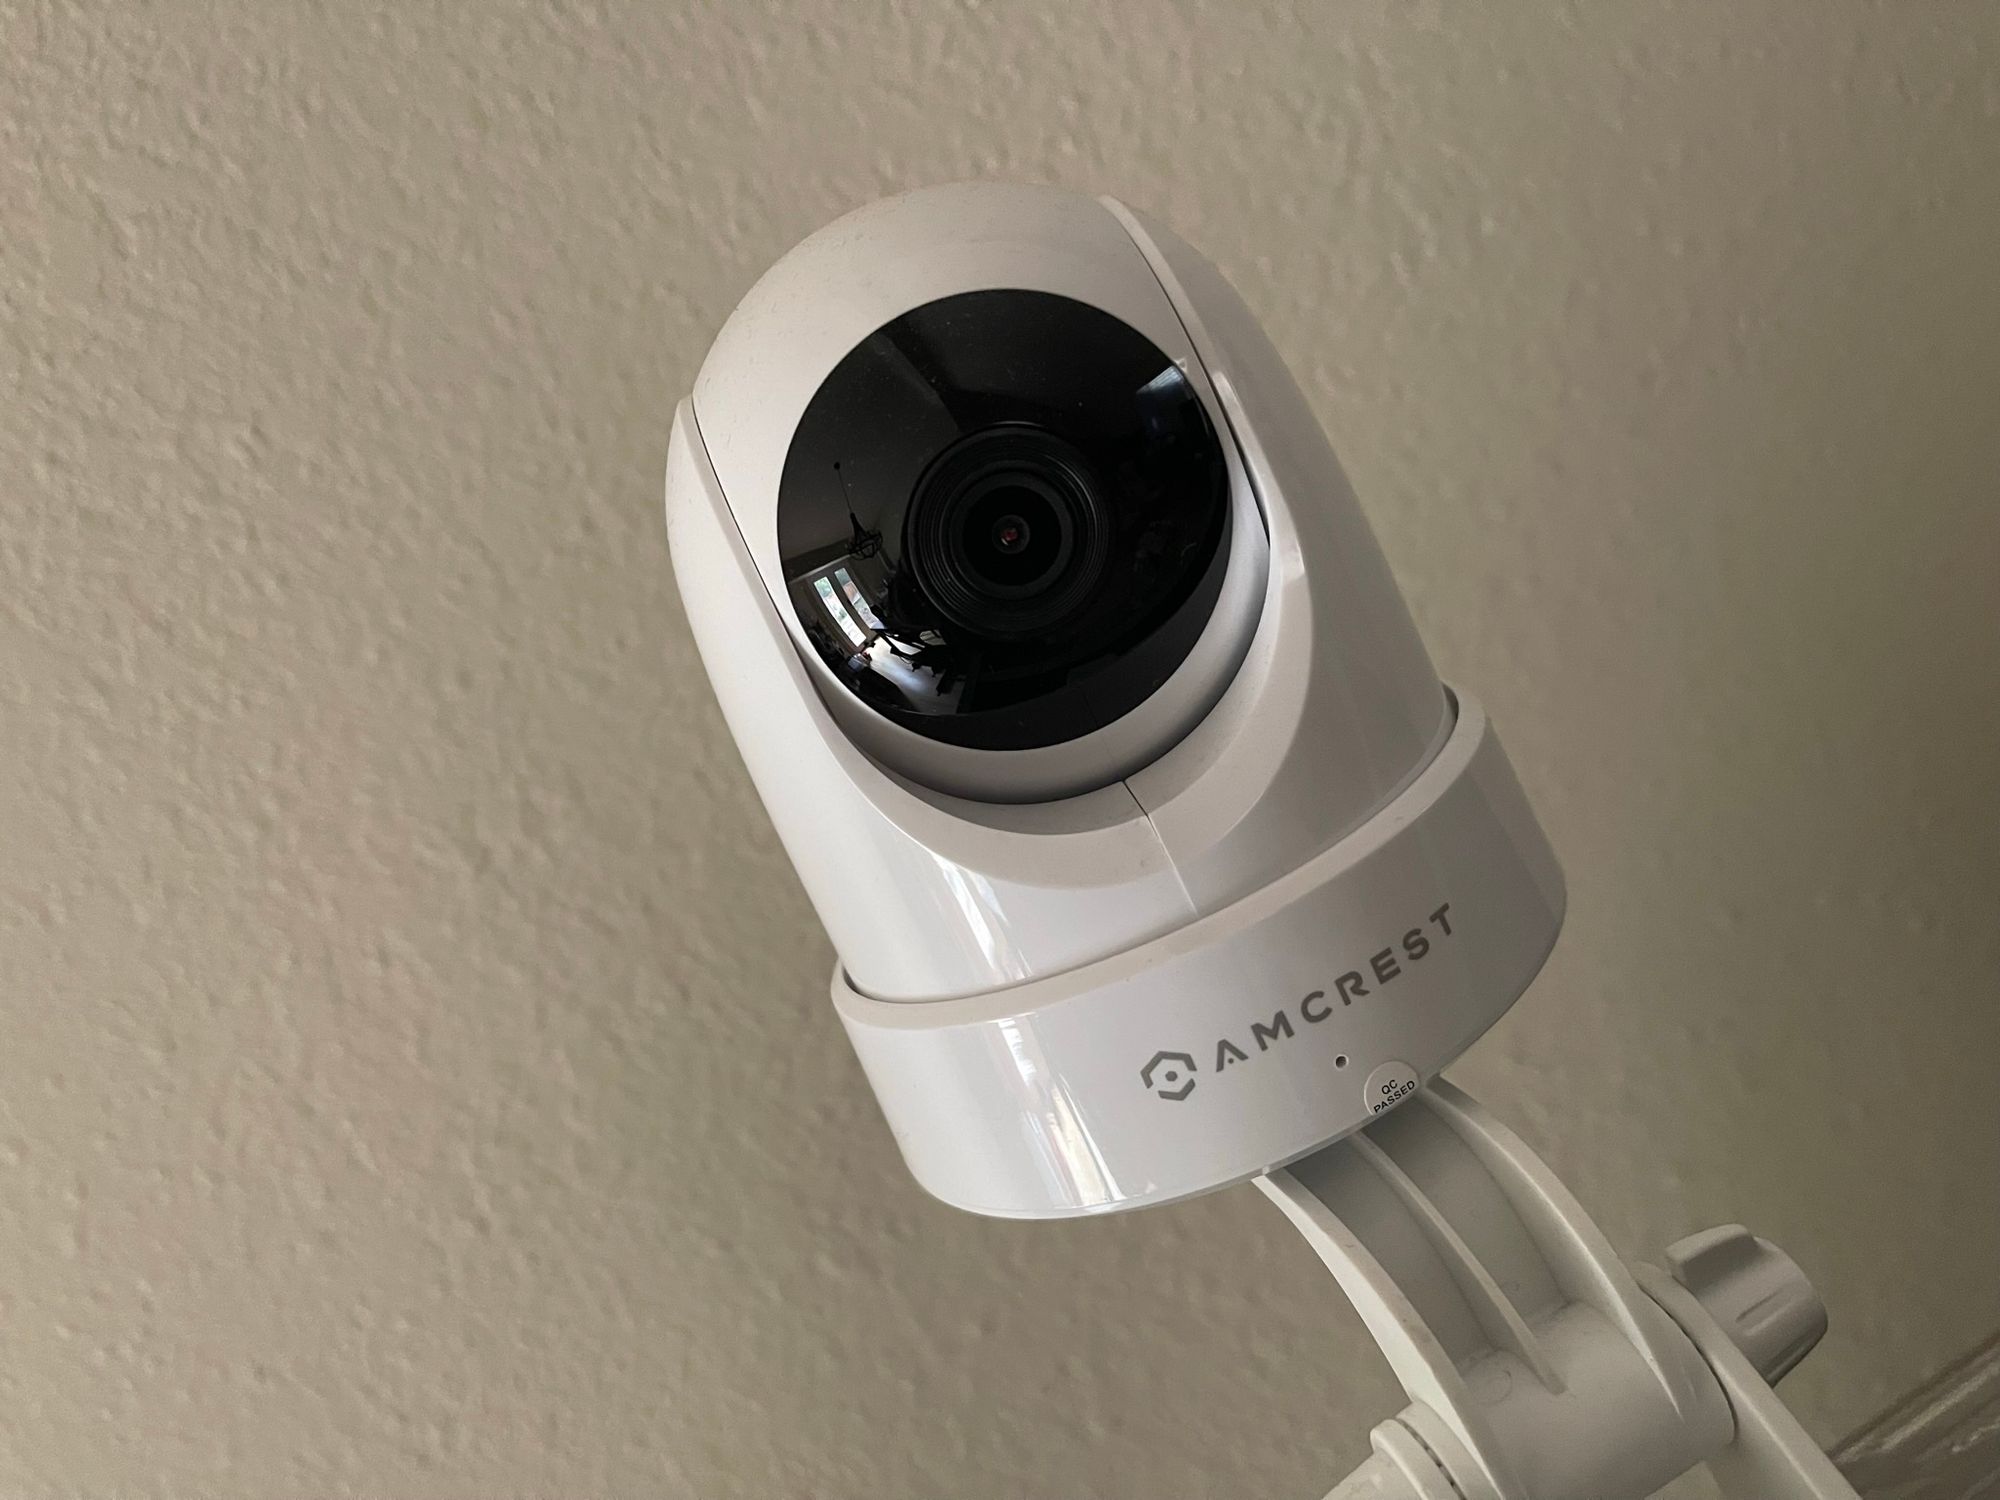
Camera
Generally, any ONVIF cameras will work. I have had good experience with the following:
- TRENDnet TV-IP311PI (outdoor, PoE, 3MP)
- Amcrest 2304TVL (indoor, wireless, 3MP, PTZ)
- Amcrest 1920TVL (indoor, PoE, 2MP, PTZ)
- Amcrest IP4M-1051W (indoor, wireless, 4MP, PTZ)
- Amcrest IP8M-2493EW (outdoor, PoE, 8MP)
Mostly because they are easy to get on-line and have mature hardware and firmware (so they stay up problem-free for a long time and can reliably reboot on a schedule). All have IR night-vision (black and white video at night). The Amcrest dome cameras all have similar shapes and it is possible to buy a junction box to help simplify attaching the cameras to your house.
I prefer PoE cameras because it means fewer wires and holes. Just a single Ethernet cable is enough for both data and power; you just need an Ethernet power injector hub. Using wired connection also has the huge benefit of removing noise from your wireless network. All your neighbors probably have wireless access points like you, and are all competing against you for the limited number of channels. A lot of cameras (especially Kuna) seem to really struggle once you have people and furniture in the house). Solution for me is to pick the wireless channel that has few competitions and just permanently park on that channel, instead of trusting that the routers will cooperate and live in harmony (auto channel change never works for me). Also, dedicated 2.4GHz SSID and access point for the wireless cameras seems to help, at the cost of being able to conveniently migrate between 5GHz and 2.4GHz networks. Remember if the camera is transmitting videos wireless, it will constantly eat into available bandwidth for everything else on the wireless subnet.
These cameras all have web interfaces to further configure parameters that Surveillance Station will not change. For example, add labels and timestamps encoded into the video, or privacy rectangles to black out part of your video. Your NAS can act as the NTP server, but you may have to directly configure the cameras if daylight savings time is messing up the timestamp. These cameras can transmit two streams, one at full resolution to NAS for recording, and one at lower resolution for streaming (live view). Framerate is also adjustable per stream to further optimize bandwidth. Use the web interface to define motion sensing zones and sensitivity, so that your NAS is not always just recording tall trees waving every time the wind blows. At night, even when insects flying into field of view will trigger an event, Surveillance Station will happily label these events you don't care about and you can playback the video faster than real-time, but too many events will make it hard for you to pin point an event you are looking for.
Mounting
You can mount the cameras with Tapcon screws. Mark the holes before you drill, and try to connect the camera first to preview and make sure you have the coverage you want at the location you are preparing to mount. Setting up the camera and mobile app ahead of time is really valuable here. Make sure you have drill bits for masonry and keep an eye out for heat. Check what is on the other side of the wall before you drill and avoid the studs. Seal holes with silicone after you are done.
Make sure you have someone else to help. Reports show that visible cameras act as deterrants for burglars surveying your home as a potential target, and to prevent vandalism you'll want to mount the camera somewhere hard to reach without a ladder. Once you are up there, however, you'll realize that you don't have enough hands and pockets.
Making Ethernet Cables
My preference for PoE cameras meant that I need more than a few Ethernet cables of varying lengths and the cost add up, especially at the distance I want to run them from the power injecter hub.
There are a lot of how-to pages and videos, you should take a look at them first and understand what is involved. The more cables you terminate, the better you'll get but the first one is going to take what seems like forever. No matter how fast you get at making them, it still takes time to do the work, so unless you are interested in the skill/experience, maybe it is cheaper to buy them.
If you want to learn a new skill, it is not hard to make Ethernet cables; you do need to buy parts and tools:
- Cables: in addition to the speed, the jackets have different ratings and uses, more details here. It is also important to figure out the gauge of the wire strands (commonly 24-AWG or 23-AWG, confirm by looking for these terms within markings along your cable) because you need different connectors and strain relief jackets for them.
- RJ45 Pass Through Connectors: I like these, you just line up the 8 wires in the right order, insert them into the plug and crimp. They come in different sizes and cavity/layouts depending on gauge of the wire strands you are working with. It is far easier to work with 24-AWG strands, because 23-AWG wire strands are harder to straighten to pass through the connectors. If you make a mistake when working with pass through connectors, you'll have to discard and use a new connector.
- Wire crimp: this tool will apply pressure to the connector, so that the pins mate with wires. Mine is also a wire cutter and will help score the jacket.
- Wire flush cutter: once the wires are lined up in the right order, cut across them to make it easier to squeeze through the connector without one of them bending. Also useful for cutting the plastic guide in center of cable.
- Tester: plug two terminated ends and the lights will tell you if there is any wiring errors (swapped or disconnected cables, etc.). This is one of the best investments, allowing you to test your cable without connecting real devices, much easier to carry around.
Do a little research and decide for yourself if it is still worth the cost of getting the tools and parts.
Ethernet Notes
Buy wall plates with keystones already installed. They make your installations look nicer. You want to install single-gang drywall brackets for the wall plates. Wall plates comes in different number of ports available, you can connect them to a switch outside and not worry about how to power a switch in the attic. Note also that you want to line up the wall plates, and not the drywall bracket to an existing wall plate. If you are working with drywall to hide your wiring inside, a jab saw and fish tape is super helpful.
If your cable is too short, just make another one and join the cables with an inline coupler keystone jack. Mixing different types of cables is fine. As long as you are not running more than 100 meters/300 feet of overall length you won't need repeaters.
After you pull away the scored outer cable jacket, there is layers of aluminum and plastic jackets under it. If these are scored also, then you want to cut off that section of the cable and try scoring the outer jacket again. This is because the cutter may have accidentally weakened or cut the individual strands, and they may break later when the cable is under stress. Because the damage may not be obvious, it'll take a long time to troubleshoot.